Future Proofing Houses - Getting it Right from the Start


As a green general contractor that both renovates and builds new custom homes, I appreciate the challenges and opportunities that are part of both types of construction. Our renovation clients get excited about working with us when they see our blog or YouTube channel, where we talk about the many ways to improve their houses. Unfortunately, this excitement is short-lived when I tell them there are only so many ways to correct the construction sins of the past without a deep energy retrofit. They see videos about high-performance EarthCraft or Passive House; however, these details most apply to new construction. I am not talking about kitchens or bathroom upgrades. Those are easy to fix and typically have a shorter design lifecycle than other house components, such as the foundation and structure.
Do it right the first time, or pay much more later
Several major assemblies are very difficult for a renovation contractor to fix without a complete rebuild of the house or costly retrofit. These are critical to the performance and longevity of the structure or are necessary for future-proofing the home to be more resilient. The first is the vapor barrier below the slab. It is nearly impossible to correct without a complete rebuild. The second is the vapor and air control layer in the wall assembly. These can be corrected later when the house is resided or re-roofed. However, I have never seen retrofit companies offer this option. Both of these assemblies are best optimized when the house is first built. Another consideration is supplying the house with an electrical service wire that can handle an all-electric load on the house without gas.
I get it; homeowners cannot see plastic under the slab or a good water-resistant barrier, so why spend the extra money on them? In many cases, you might not have to. I’ve seen many houses with the correct products installed; however, they are installed incorrectly. Fixing them might only take a little training and management to correct.
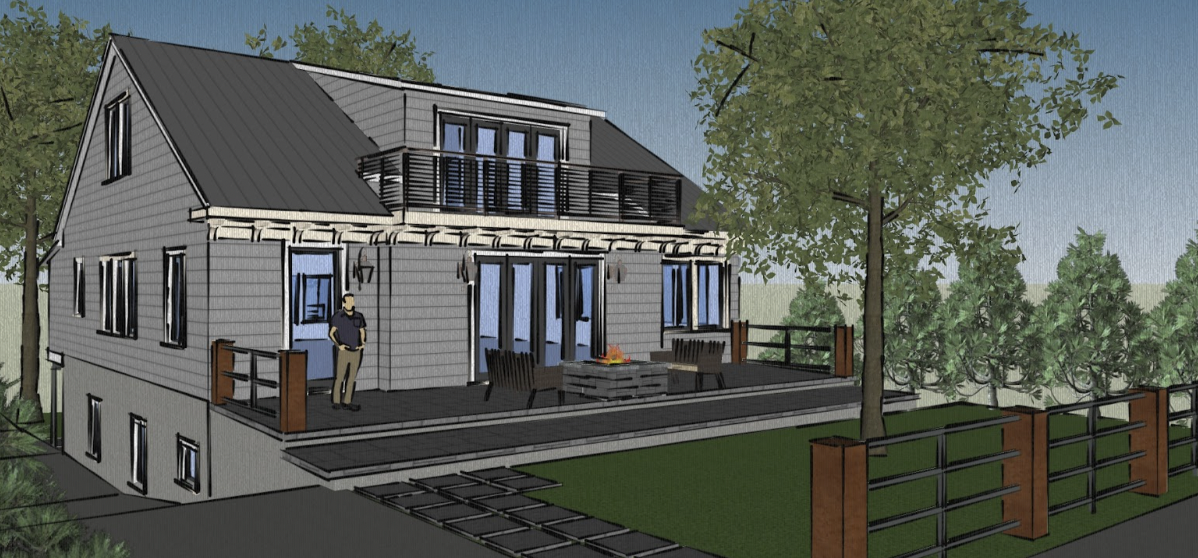
To help demonstrate many of the design principles my team talks about, we created a “learning house” built to EarthCraft House and Passive House standards. We have partnered with many high-performance manufacturers to show the optimal ways to design and install their products in EarthCraft House and Passive House. We have had several house tours with EarthCraft builders, so we can learn from each other to continue improving our craft. #1920sMakeoverATL
Waterproofing correctly to prevent future damage
Several myths need to be busted before we talk about opportunities for improvement. The first is that concrete is waterproof. It is water-resistant; however, we still need a barrier so water cannot travel through it. Concrete also shrinks as it cures, so the cracks and gaps are where we need to worry about bulk moisture and other soil gases coming through. Another fact about concrete is that water can travel up the foundation wall through capillary action. To combat water and vapor intrusion, we need to prevent it from coming from below the slab and from the foundation walls in the basement. The majority of foundation installers and waterproofing crews don’t understand these principles. Hence, we need to educate them so the foundation assembly does not fail in the future.
The code already states that below-grade foundations must be waterproofed, and most contractors are doing this correctly. One area for improvement is between the footing and the foundation. Water can wick from the ground into the footing through capillary action and continue into the foundation wall. Many products on the market are designed to be a “capillary break.” Once the footing is poured, these products are installed before the forms are added. Once the concrete is poured into the forms, this membrane prevents any moisture from the footing from traveling into the foundation wall and entering the finished spaces in the basement. This low-cost fix will help the foundation walls last longer and improve indoor air quality. Once the foundation is poured, it is impossible to make this upgrade in the future without completely rebuilding the foundation.
(1).png)
“Radon retrofits” cost more and don’t work as well.
We put much effort and thought into the roof and walls; however, the “sixth side of the house” is typically ignored. I usually see a half-hearted attempt by the foundation contractor to put some 6-mil plastic down, and occasionally I see a Radon vent. While I applaud the effort, they are mostly useless if installed incorrectly. The Radon system and the moisture barrier can be solved with the same solution. The code states that we must overlap the plastic so that moisture has a harder time finding its way into the house when the concrete is poured. My suggestion is to lap the membrane and seal it. Seal the overlapping seam, the penetrations through the membrane, and where the membrane meets the footing. If you are pouring a monolithic slab, install the membrane under the footing and grade beams.
I’ve seen Radon systems installed below the slab with no sealant to the pipe and a gap around the concrete. If there are gaps in the plastic and the concrete, then Radon will find its way into the house. Radon can cause cancer, so a little effort can help save lives.
In many cases, builders are not even considering Radon systems in their design. This is unfortunate because the cost to retrofit is very expensive. Retrofit systems may not perform as a properly designed new system. A Radon barrier and vent installed before the concrete is poured is much easier and cheaper than a less ideal retrofit system.
Bring your air sealing to the exterior for better results
While I see minimal effort put into foundations, the opposite is true for wall assemblies. Builders are making an effort to make houses tighter to meet with energy code and to help reduce the HVAC loads on the house. One of the things that I have noticed is that we have all been trying a little too hard and not getting the best results. 99% of us pay for the same thing twice or thrice and do not even realize it. This double payment is the air control barrier on the house.
If your assembly is OSB or plywood with house wrap, then your air control layer is most likely the drywall on the inside. If you use a panel with an integrated WRB, such as the Zip System, your air control layer is on the outside and the inside if you only tape the seams. If the installers don’t know what part of the assembly you are attempting to prioritize, they may just be installing redundant products. My suggestion is to pick a layer and do it well. On the #1920sMakeoverATL, we picked the outside of our house to be the air barrier.
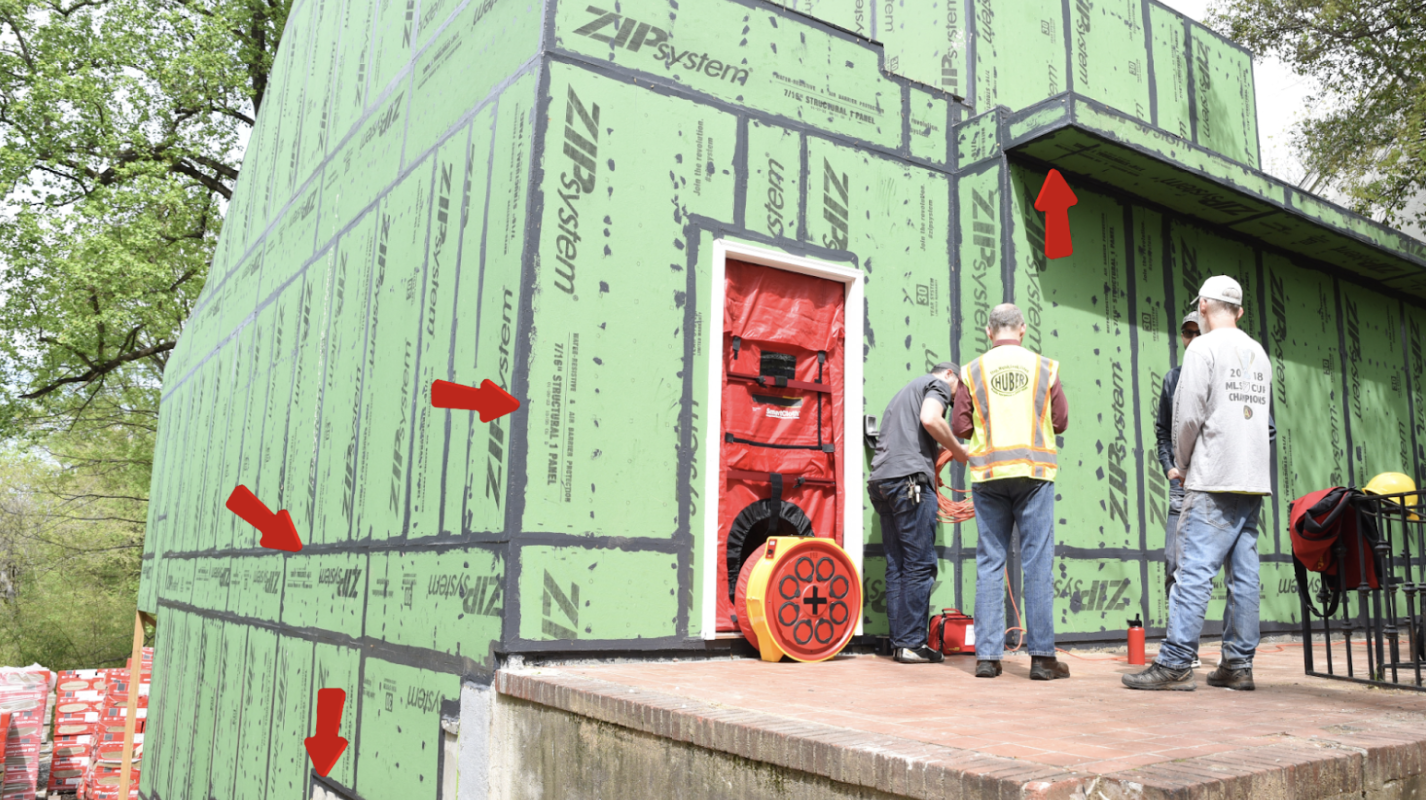
Using the Zip System, we completed two layers with one product. If you just install Zip System with the tape, you must also focus on air sealing inside the house. We ran a blower door with just the panels installed and got a reading of 14 ACH50, which is a fail since the Georgia energy code requires 5 ACH50. We retested the house using tape and liquid flash on all the seams and transitions. We were amazed to see a result of .3 ACH50, over 18 times better than the energy code and twice as good as we needed for Passive House. The trade-off for this extra labor on the exterior is that I don’t have to worry about sealing the bottom plate, caulking the studs, or other air-sealing measures on the inside. I still need to seal around the windows and doors and provide fire protection, though. I have seen builders make a noble effort to air seal on the interior only to get a 2-3 ACH50 measurement, which is still better than the energy code. If they made the same effort on the exterior, they could reduce it by another 500-1000% with the same budget.
Future proof the structure to all-electric
One of the main reasons existing homeowners choose to stay with gas is that there needs to be more power coming to the home to go all-electric. Converting from gas to electricity for cooking, water heating, and home heating may exceed the capacity of the existing electrical service. The cost to retrofit the service wire and electrical panel can be thousands of dollars. Oversizing the service and panel as part of the new build cost much less.
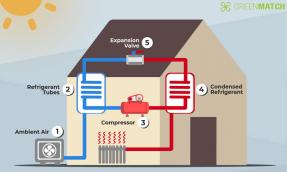
If you are in an existing house and want to convert to all-electric, there are still ways to do this without significantly increasing the load. Mini split heat pumps are very efficient, and if you already have an air conditioner, swapping over shouldn’t require more power. Induction cooktops are more efficient than electric ranges. Rheem makes a water heater designed to replace gas without adding a new dedicated circuit. These are all great retrofit options that can help you eliminate gas from your home to make it safer for you and your family.
How architects and green certifications can help
Builders are often limited by what is on the plans and specifications. Don't expect them to be built if they are in a competitive bid process and these details are not specified. The default for anything not designed is the minimum code for that jurisdiction. This is why choosing the team at the project's beginning is crucial. The design team, builder, and green consultants can work through these details in the design phase. It is much cheaper to design correctly before the structure is built than to hire professionals to develop a retrofit plan.
The benefit of choosing a green certification is that another team member can help with these details. Most certifications require testing and verification, which keeps the team honest and can help prevent costly mistakes. Some builders say, “We don’t need the certification because we already build to that standard.” I have seen some of these builds, and they may have some sustainable features but are lacking when it comes to the higher standards set by most green-certifying organizations.
I’ve also learned quite a bit from going through the certification process. When took my first green building class over 20 years ago, it opened the possibilities up for better construction from my company. We are currently working on the first-ever Passive House in Georgia, and the lessons learned from going through the energy modeling process have been invaluable.
In conclusion
Continuing education is necessary for designers, builders, and trades for all of this to work. Informed professionals tend to make better decisions. Most people want to do better. We just need to help each other learn from our successes and mistakes to continue to improve our industry.
I don’t believe my proposal differs radically from how most contractors build now. Many builders are already doing some of these things, and I have learned from watching them. Design professionals, homeowners, and contractors must have these conversations at the beginning of the process. Well-thought-out performance features can be cost-neutral while extending the life of your home.
To learn more about our “learning house,” visit: The #1920sMakeoverATL Showhouse Project: A Deep Energy Whole House Retrofit and Green Building Virtual Reality Experience.
- Filed Under: #1920sMakeoverATL
- ( 8603 ) views
I own SawHorse, Inc, a green design + build firm in Atlanta, GA. We focus on high-performance buildings and create showcase houses to demonstrate cutting-edge building techniques.
- ( 4 ) Ratings
- ( 15 ) Discussions
- ( 7 ) Group Posts
Reply/Leave a Comment (You must be logged in to leave a comment)
Connect with us!
Subscribe to our monthly newsletter:

 Greenbuild Report Out, 2025 Nov 12, 2025


Sponsored Listings


Not a Member Yet? Register and Join the Community | Log in