


When you build a house, some parts are designed to be upgraded within a few years, and others after a few decades or even after one century. Kitchens and bathrooms get makeovers, but foundations typically are rebuilt until the house is torn down. While we renovated a 100-year-old house in Atlanta, Georgia, we discovered that the existing foundation and slab were poorly designed and a complete failure. We decided to renovate to Passive House standards making the #1920sMakeoverATL deep energy retrofit the first PHIUS home renovation in Georgia.
Passive House Slab Details:
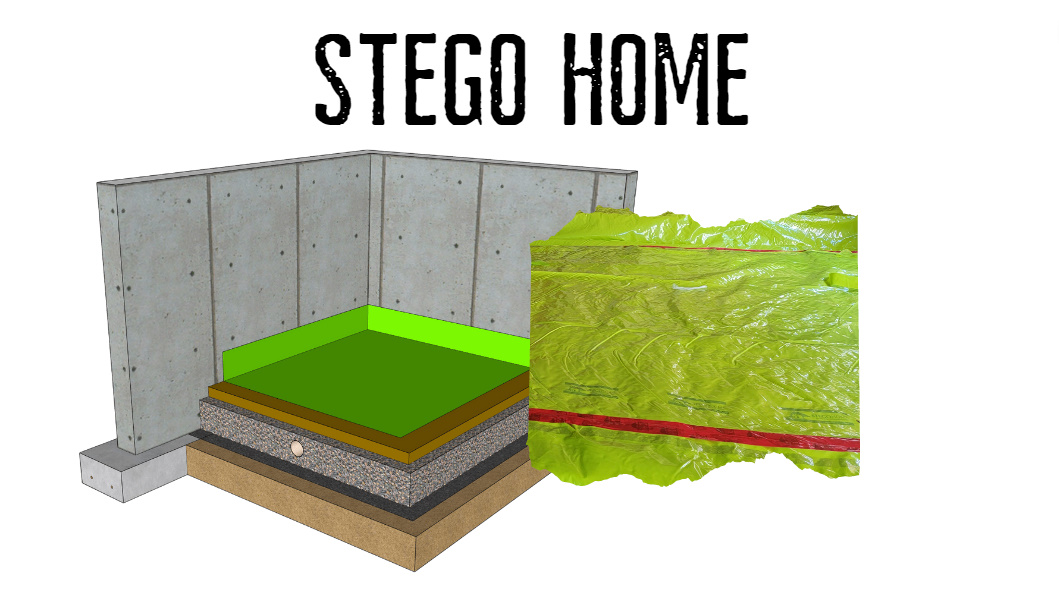
How is this slab different?
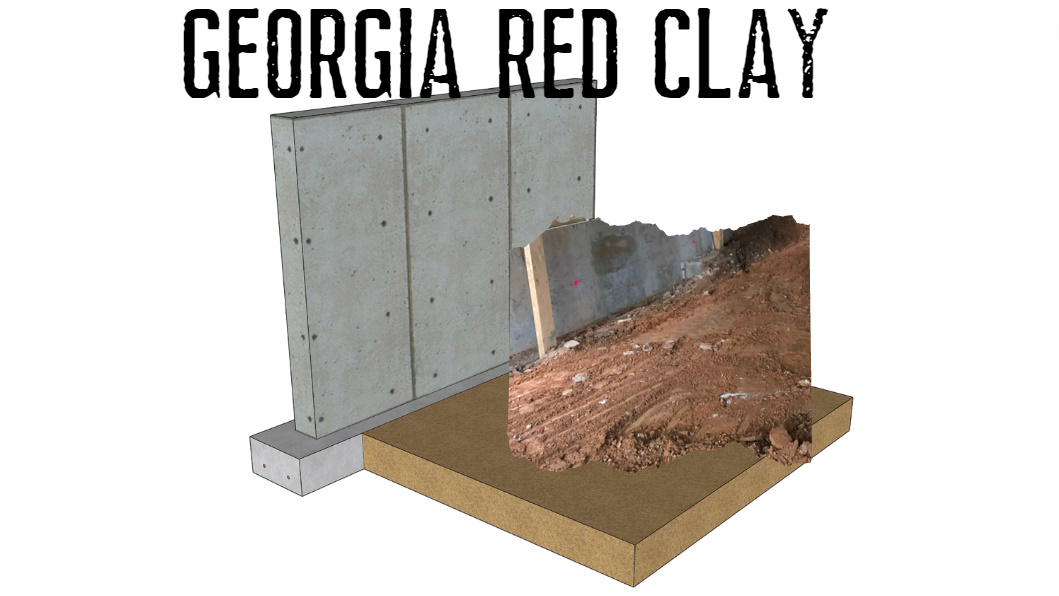
A code-built house in the climate zone will have compacted dirt, a six mil vapor barrier, then concrete. Our house has several additional layers and features. We added four inches of insulation, a reinforced vapor barrier, and a passive radon system.
We also underttook this effort while the house was still in place. This challenge made it one of the most difficult foundations we have ever worked on as a company. We had to support the house making the work area much smaller. We also had to pour the foundation walls in phases since we could not simultaneously remove 100% of the foundation.
Dirt & Slab Plumbing
After we poured the exterior foundation walls, it was time to start prepping for the concrete slab in the basement. We had to work backward to calculate the top of the dirt for the basement. Knowing the finished floor elevation for the concrete slab, we subtracted four inches for the concrete, another four inches for insulation, and twelve additional inches for the gravel.
Once the dirt was graded and compacted, we brought in the plumbers to install the below slab plumbing. Since the slab was below the sewer line, we also had to install a sewage ejector pump in the mechanical room. Usually, this is where the six-mil plastic is installed to act as a vapor control layer before the concrete is poured. Since we are building to PHIUS standards, we must add a few more layers.
Why the extra layers?
The title of this piece is "The Forgotten Side of the Home" since most homeowners and contractors don't think about what is below the concrete once it is poured. You can't access it or see it, so it is easy to forget about it. You can still measure what is happening, though. Radon monitors can detect Radon, thermal cameras can show heat loss and gain, and moisture sensors can show vapor coming through the concrete.
Why not just design and build a slab where you don't have to worry about any of these things? Insulation allows your energy consumption to be less. A solid vapor control layer helps prevent water damage and mold. The ventilation system helps remove toxic soil gases such as Radon.
All of these controls are important whether you live in a mansion or a tiny house. The laws of physics don't care what zip code you live in. They are universally applied to ALL houses. In other words, what you don't wasily see can absolutely and signifciantly affect you and other occupants.
Ventilation and Radon Control Layer
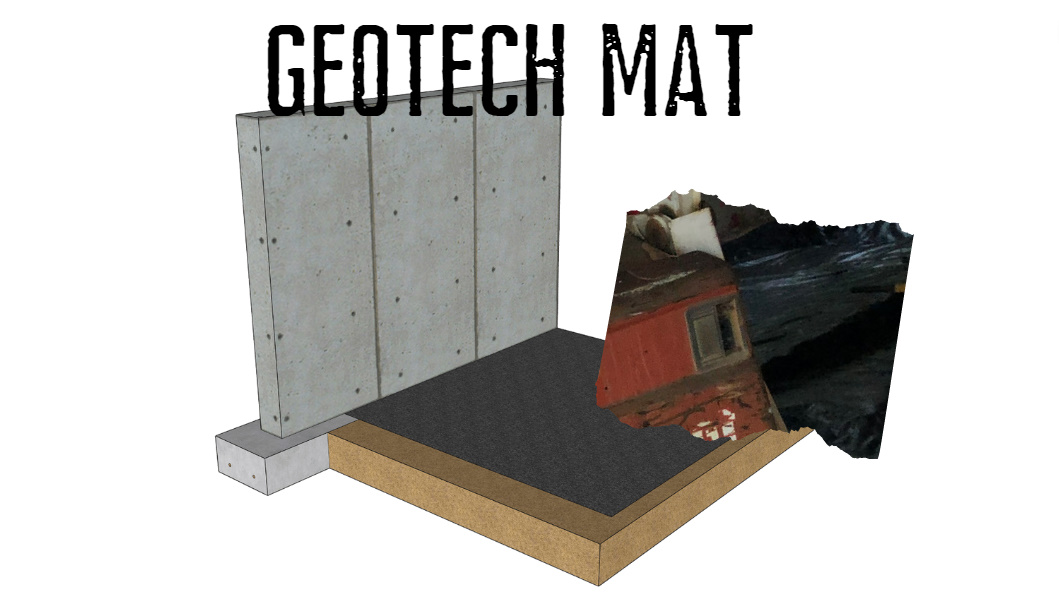
Once the plumbing was in place and dirt relieved in the bathroom and laundry areas, we added a geotextile mat. This heavy landscaping fabric helps prevent dirt from entering the layer of gravel that we have to install. It is heavy-duty, so it can withstand the weight of the gravel and other layers without tearing.
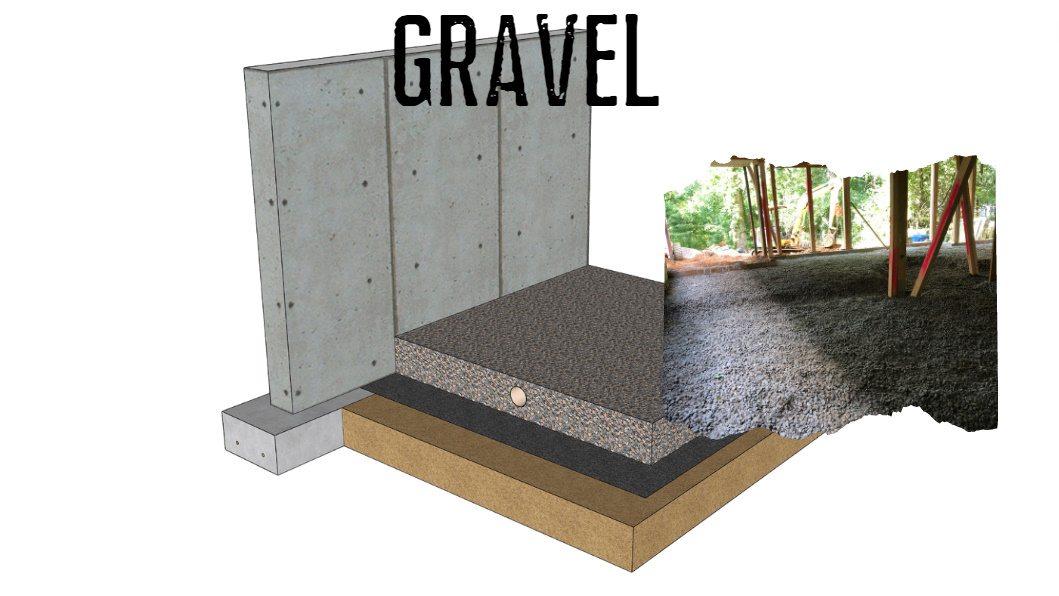
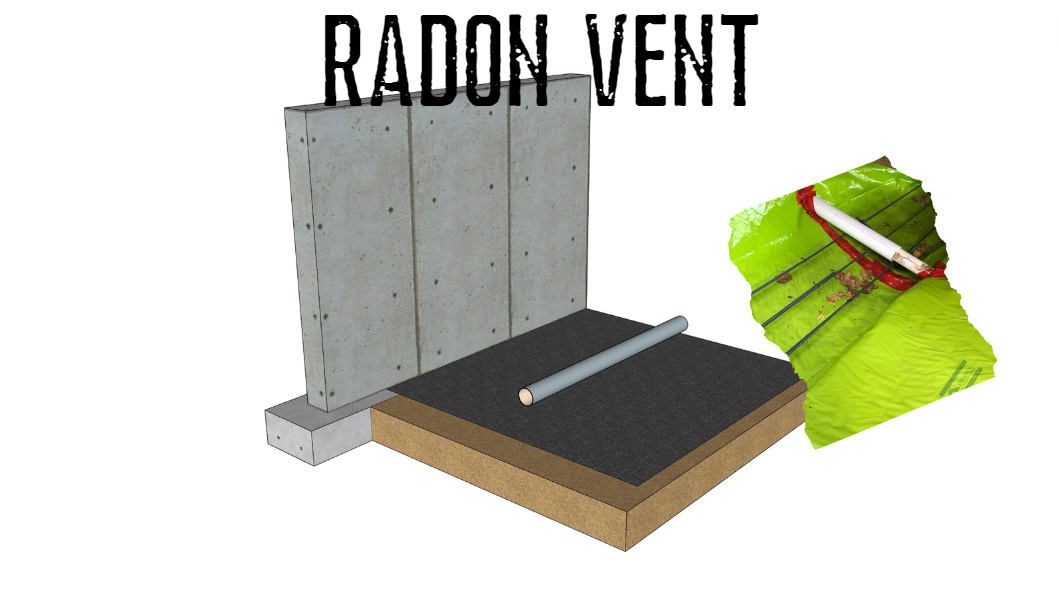
Once the mat was installed, we added 12 inches of gravel. Gravel is porous to water and has enough air gaps to allow moist air and other soil gases to move around. This is important since we are installing PVC pipes with holes in them to help capture the Radon, moist air, and other soil gases from below the slab. The Radon system is a "passive design," meaning that it has a negative pressure inside the pipes created by wind blowing across the exposed pipe that terminates on top of the roof. This negative pressure creates a vacuum and sucks the air from the gravel into the pipes and expels it through the roof.
Some systems are designed to work with a fan. Those are known as "Active Radon" systems. Since we are building a Passive House, the goal is to be as energy efficient as possible, so we elected to use the "Passive Radon" design, which does not require electricity.
.png)
Thermal Control Layer
Once the gravel and Radon pipes were installed, we prepped the slab for the insulation to be installed. We used ROCKWOOL Comfortboard 110. They also make Comfortboard 80. However, the 110 is stronger and designed to withstand more impact and resist compression from the slab's weight. We will use the Comfortboard 80 on the house's exterior because it weighs less and is easier to install.
Comforboard is rigid and can withstand the weight of the concrete slab. However, it is not designed to go below the footings. If you want continuous insulation in the basement, then the design needs to avoid grade beams. Insulation products can go below the footings; however, when I inquired, I was told the PSI I needed was custom, and it would not be ready in time.
A Passive House requires insulation on all six sides of the house. Most Passive Houses have insulation installed on the exterior on top of the roof decking and sheathing for the walls. In the case of the slab foundation, it goes below the concrete and vapor barrier. It is possible to have continuous insulation around the house, but it does take planning and creativity to make it happen.
Vapor Control Layer
Clean Vapor designed the Radon system for this project. The below slab ventilation is important and only works properly if there is an air-tight vapor control layer. Their staff told me they test their installations on commercial projects using smoke. If there are breaks in the barrier or the connections are not sealed well, the smoke will quickly show weaknesses in the design.
For this project, we used the Stego Home product. They also make commercial-grade products that can keep contaminants out of the indoor space if there are known ground pollutants.
One technique that I wanted to try out was double-fastening every connection. Stego has a double stick tape that connects the barrier to itself or the foundation. We used that and the mastic, which created a seal to the concrete where it was uneven. We installed the single-sided tape on top of seams where the double-stick tape and mastic were already used for added protection. The barrier will get tested when the concrete crews add rebar and concrete on top of it, so anything to minimize joint failure is an added benefit.
In crawlspaces, we use mechanical fasteners with double-stick tape if the concrete is not going to get poured.
Concrete Slab and Shotcrete
We poured the slab foundation with the structural grade beams per the engineer's drawing. The grade beams are necessary to hold the house up for any loads in the middle of the house. For future builds, I will request that the basement walls not be load-bearing. We can still have walls; however, the load needs to be "posted and beam" instead of a grade beam. This will allow for less concrete and more insulation and might be less expensive depending on the cost of concrete versus steel or wood beams.
We could not replace the front wall of the house since it was holding up the front porch. Instead, we added twelve inches of shotcrete which acted as a new foundation wall. Shotcrete is typically used for pool construction or in areas where a concrete form is not possible. We only had access to one side of the wall so a form would have been a challenge.
.png)
Next Steps
Now that we have a solid foundation to work off of, we will begin framing which will be much easier than the foundation. Our goal is to demonstrate that we can air seal the sheathing such that very little additional air sealing will be needed to meet PHIUS standards.
To learn more about the #1920sMakeoverATL Showhouse, visit:
- Filed Under: #1920sMakeoverATL
- Linked To: SawHorse, Inc., ROCKWOOL, Stego Industries, LLC, Clean Vapor
- Keywords : Passive House, ROCKWOOL, Foundation, Radon, Slab, Slab Assembly, Below Slab Assembly, StegoHome, Gravel, 1920sMakeoverATL
- ( 9522 ) views

I own SawHorse, Inc, a green design + build firm in Atlanta, GA. We focus on high-performance buildings and create showcase houses to demonstrate cutting-edge building techniques.
- ( 4 ) Ratings
- ( 15 ) Discussions
- ( 7 ) Group Posts
Reply/Leave a Comment (You must be logged in to leave a comment)
Connect with us!
Subscribe to our monthly newsletter:

 Greenbuild Report Out, 2025 Nov 12, 2025


Sponsored Listings


Not a Member Yet? Register and Join the Community | Log in